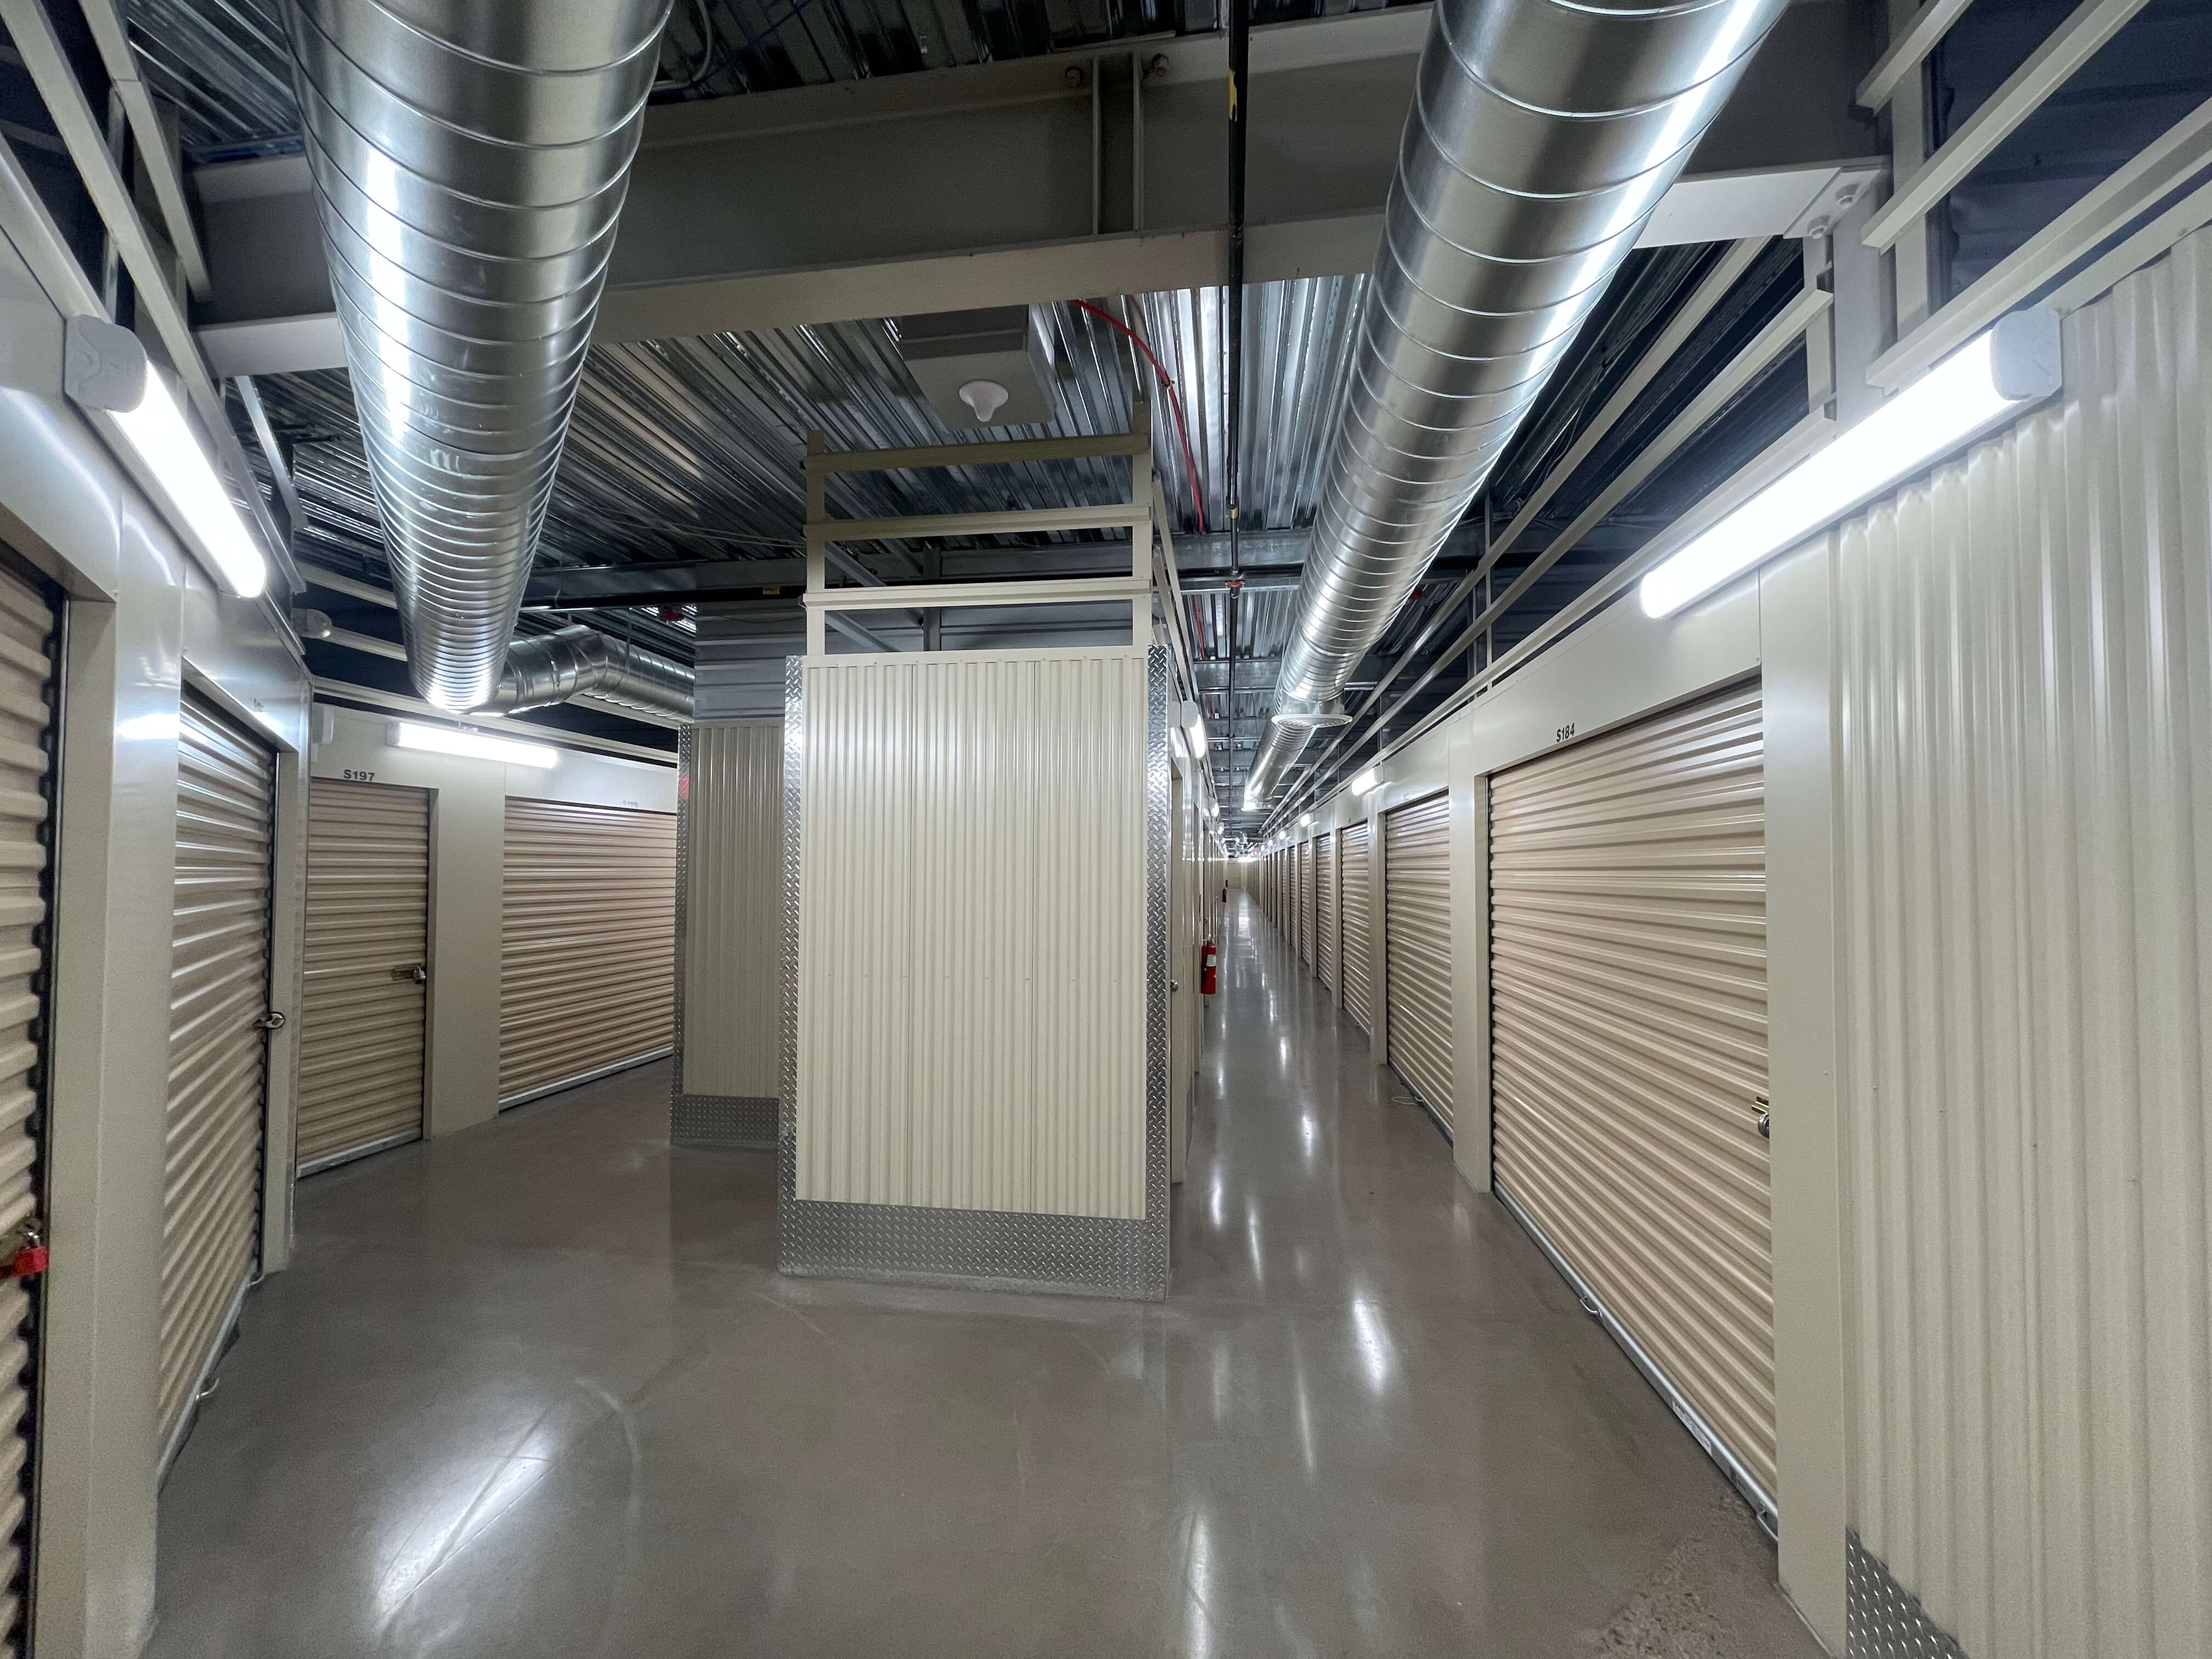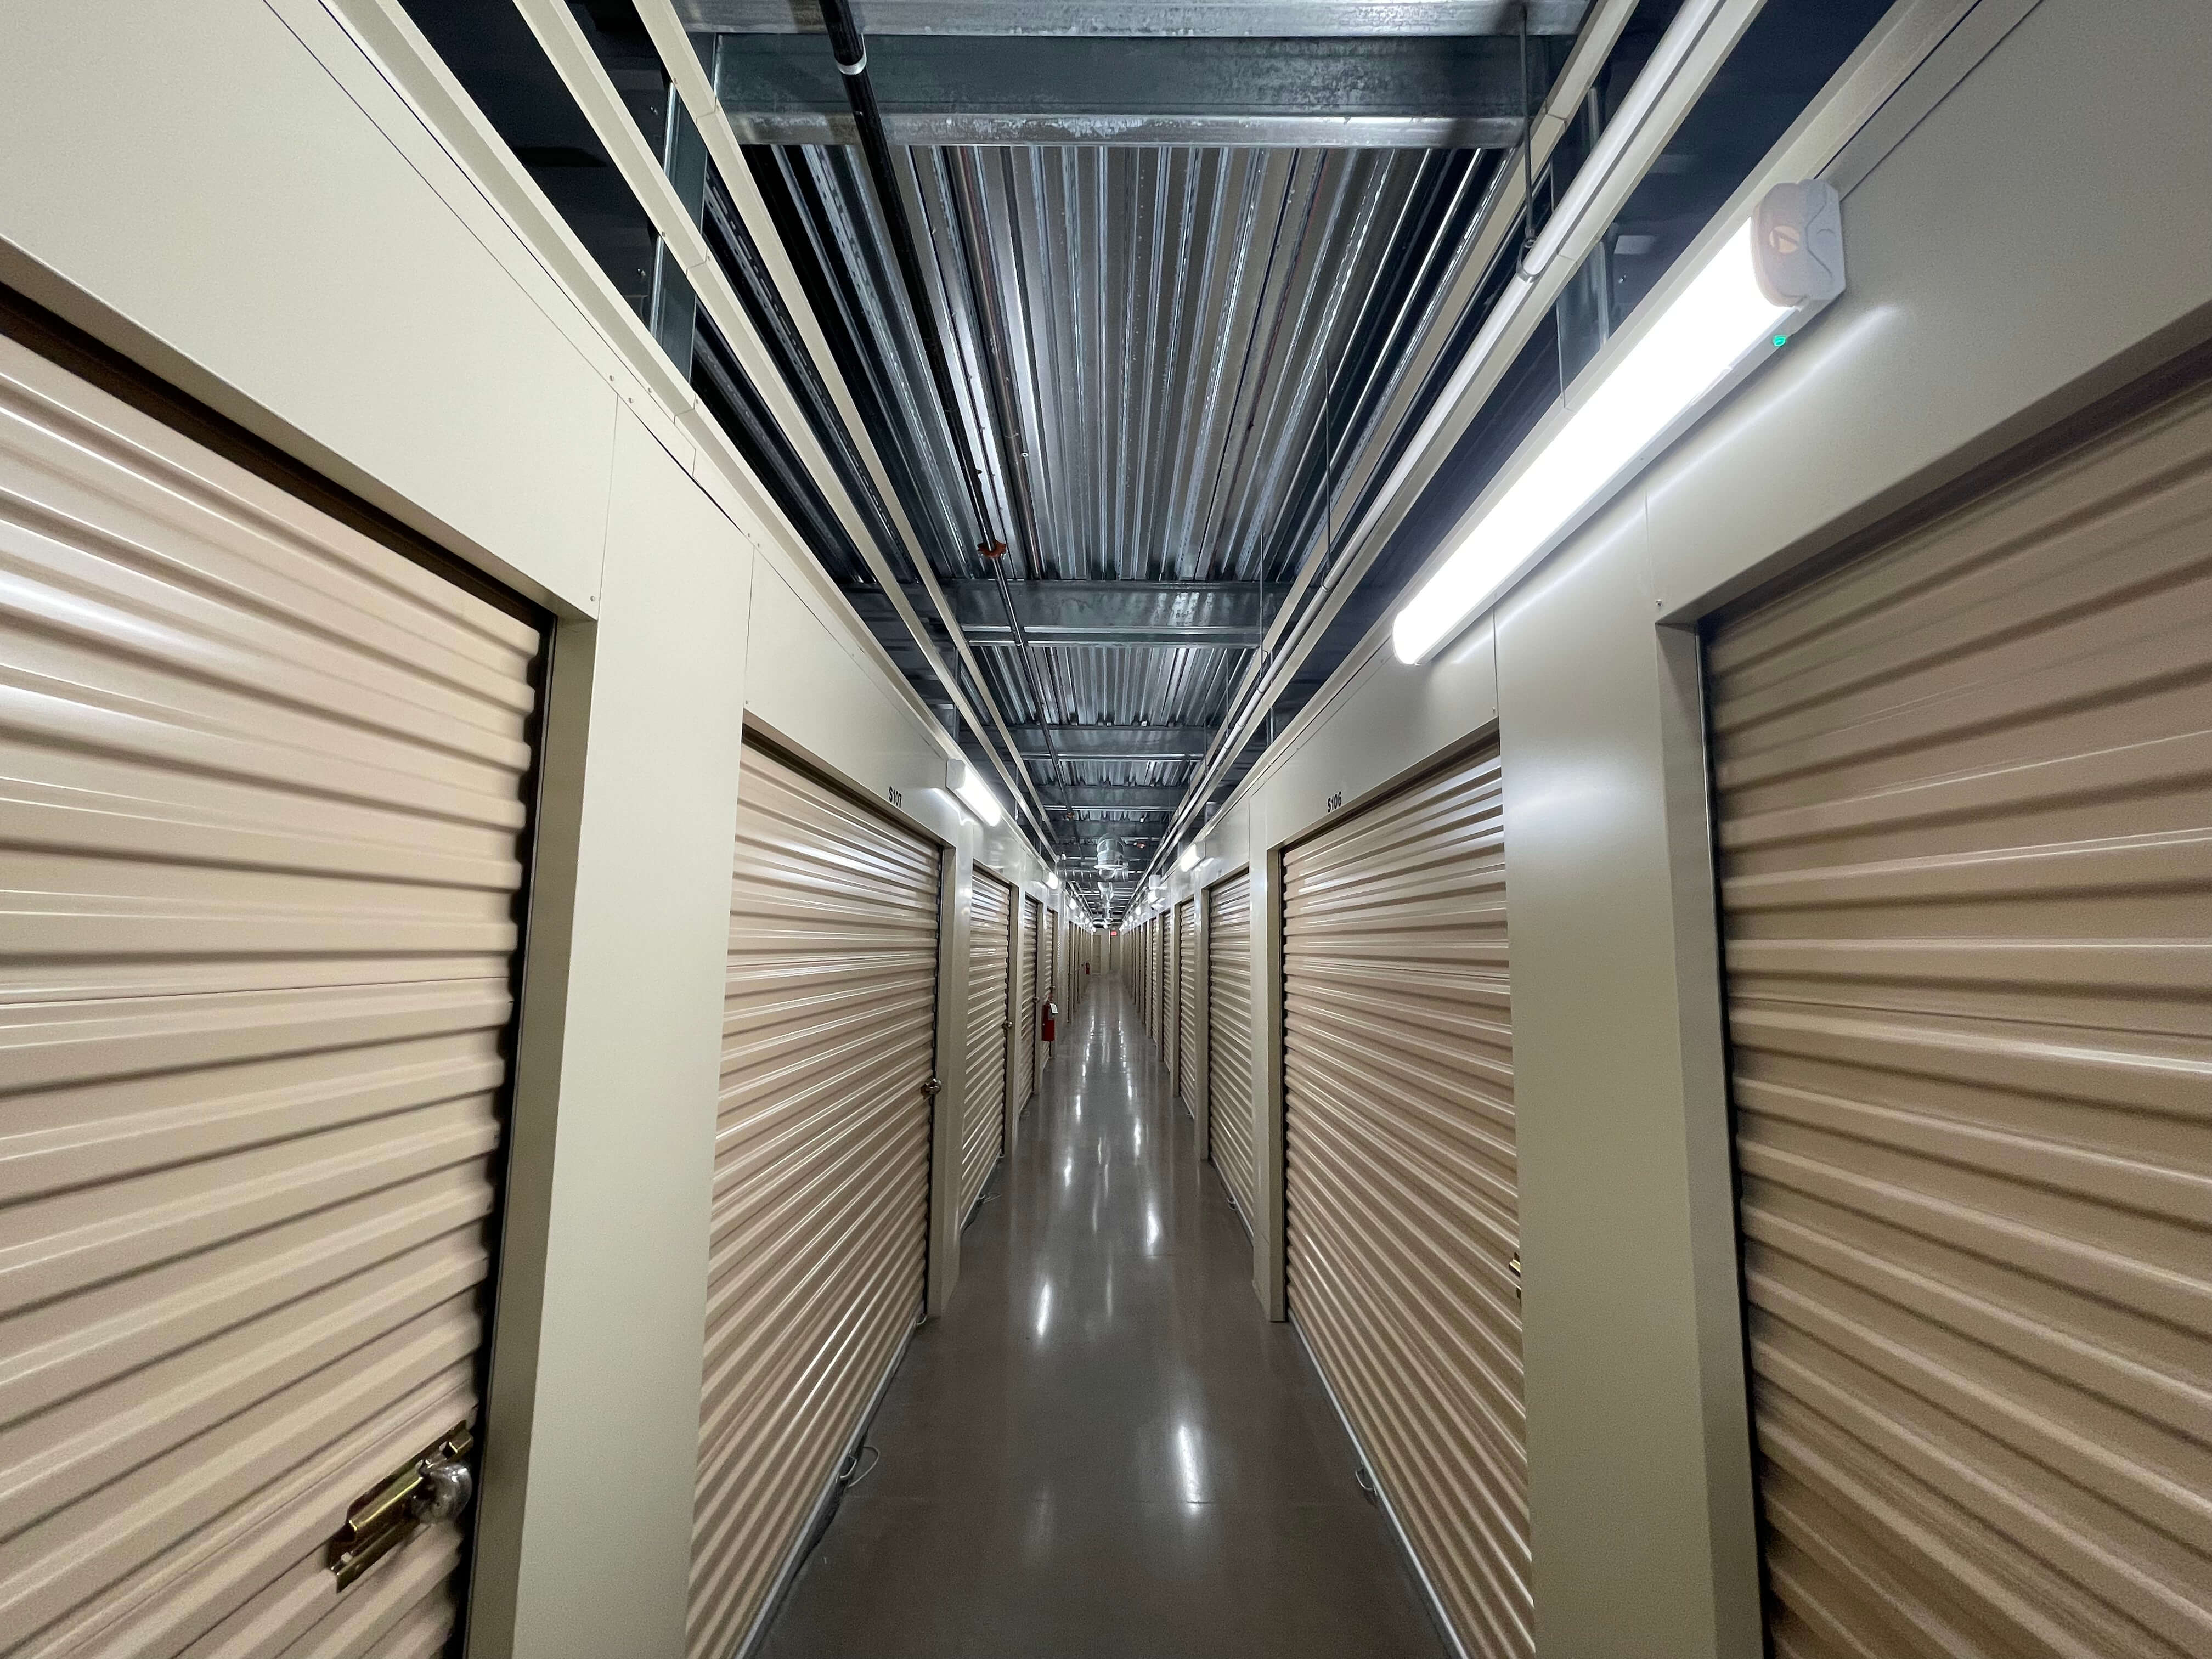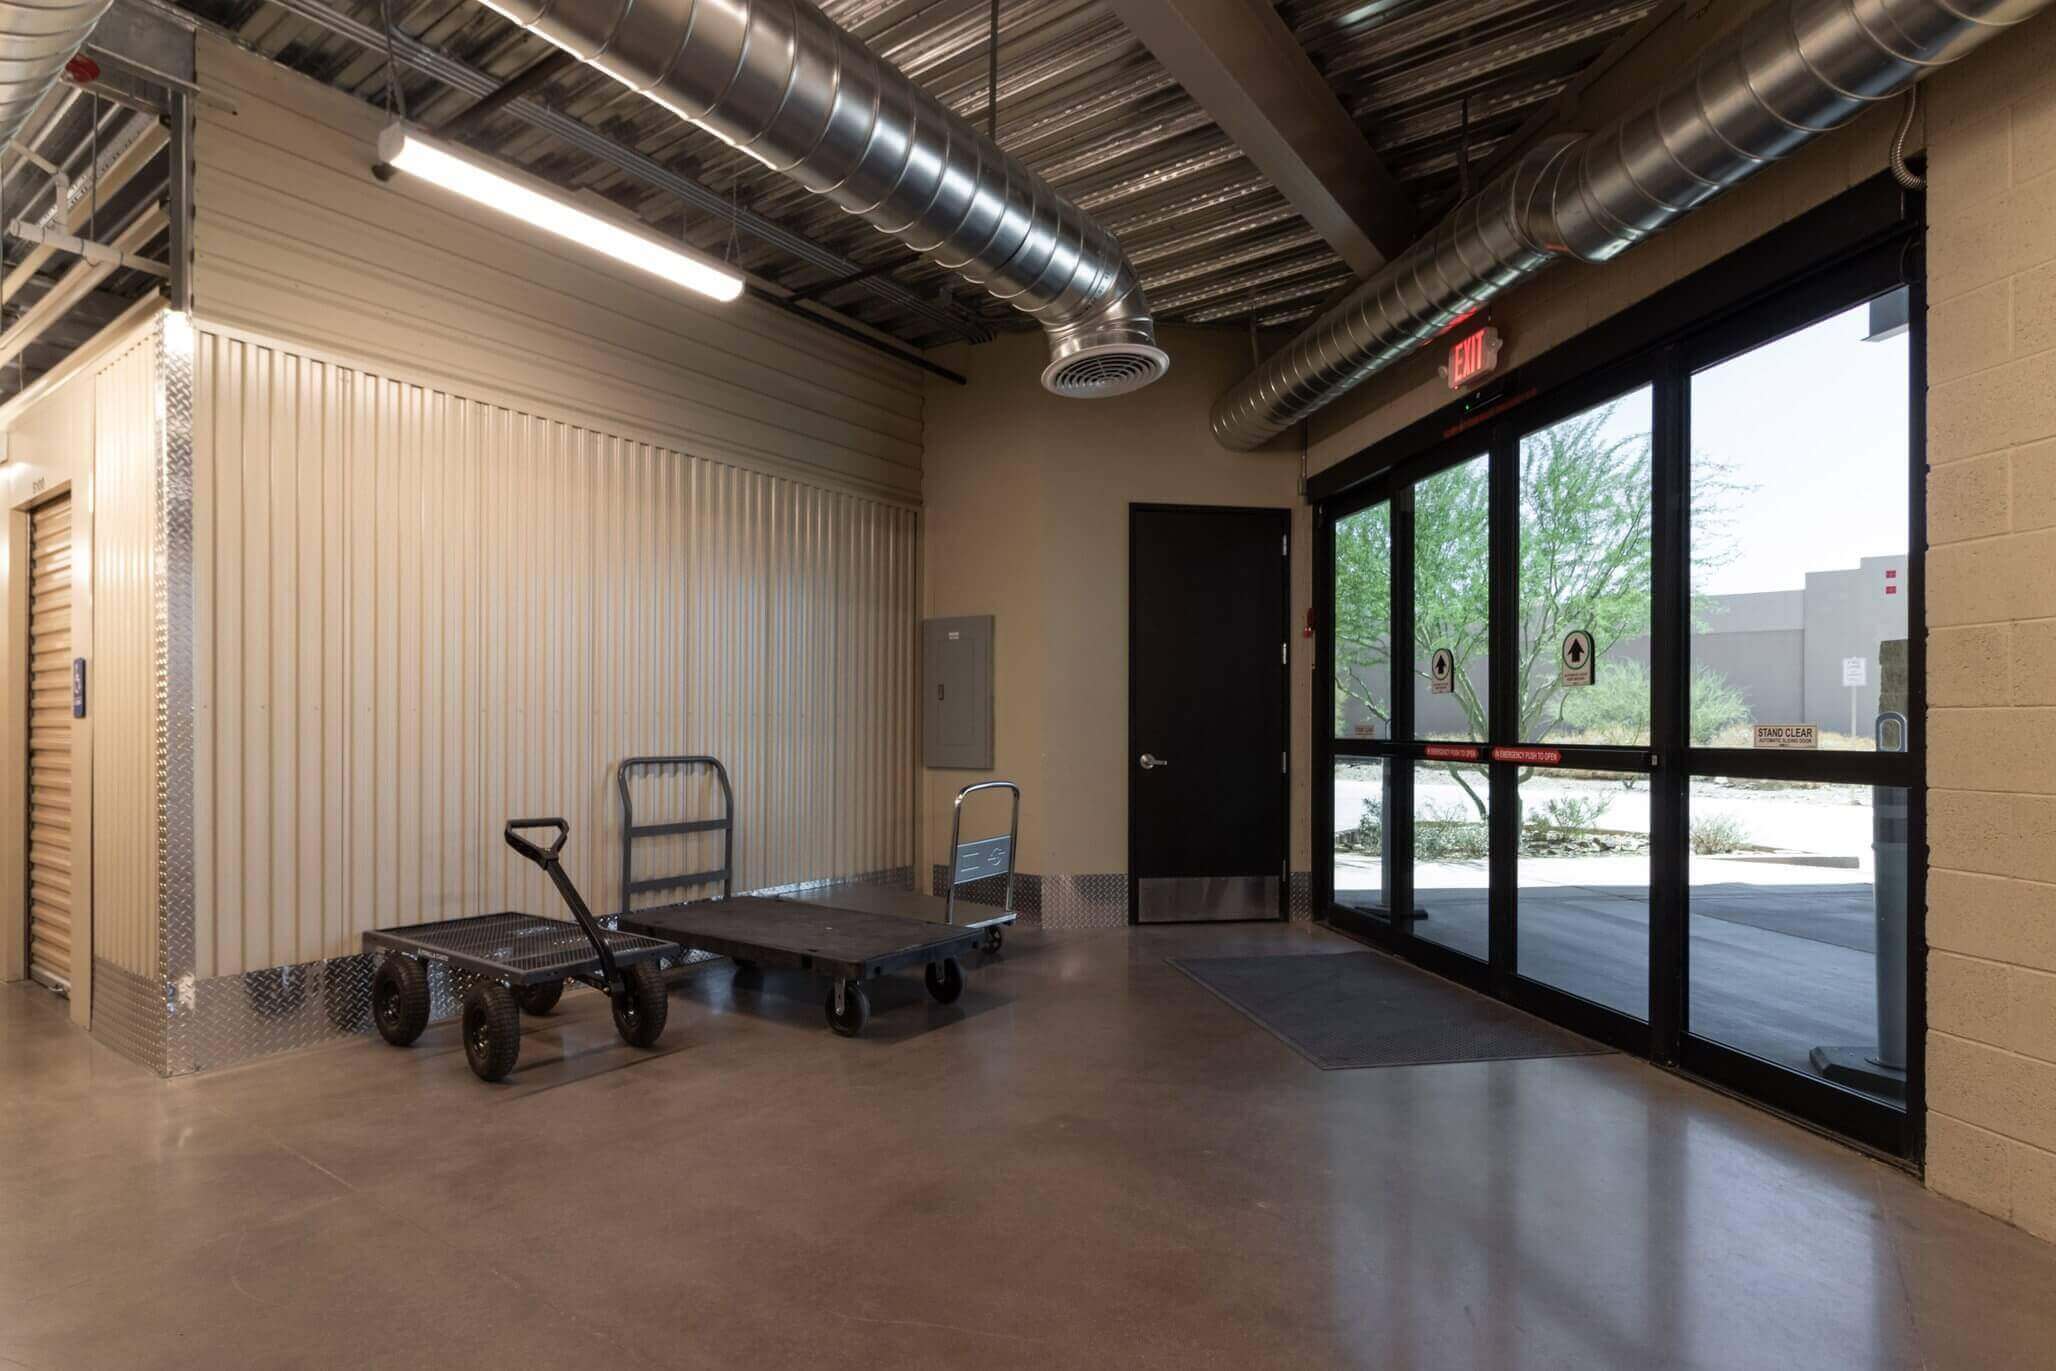
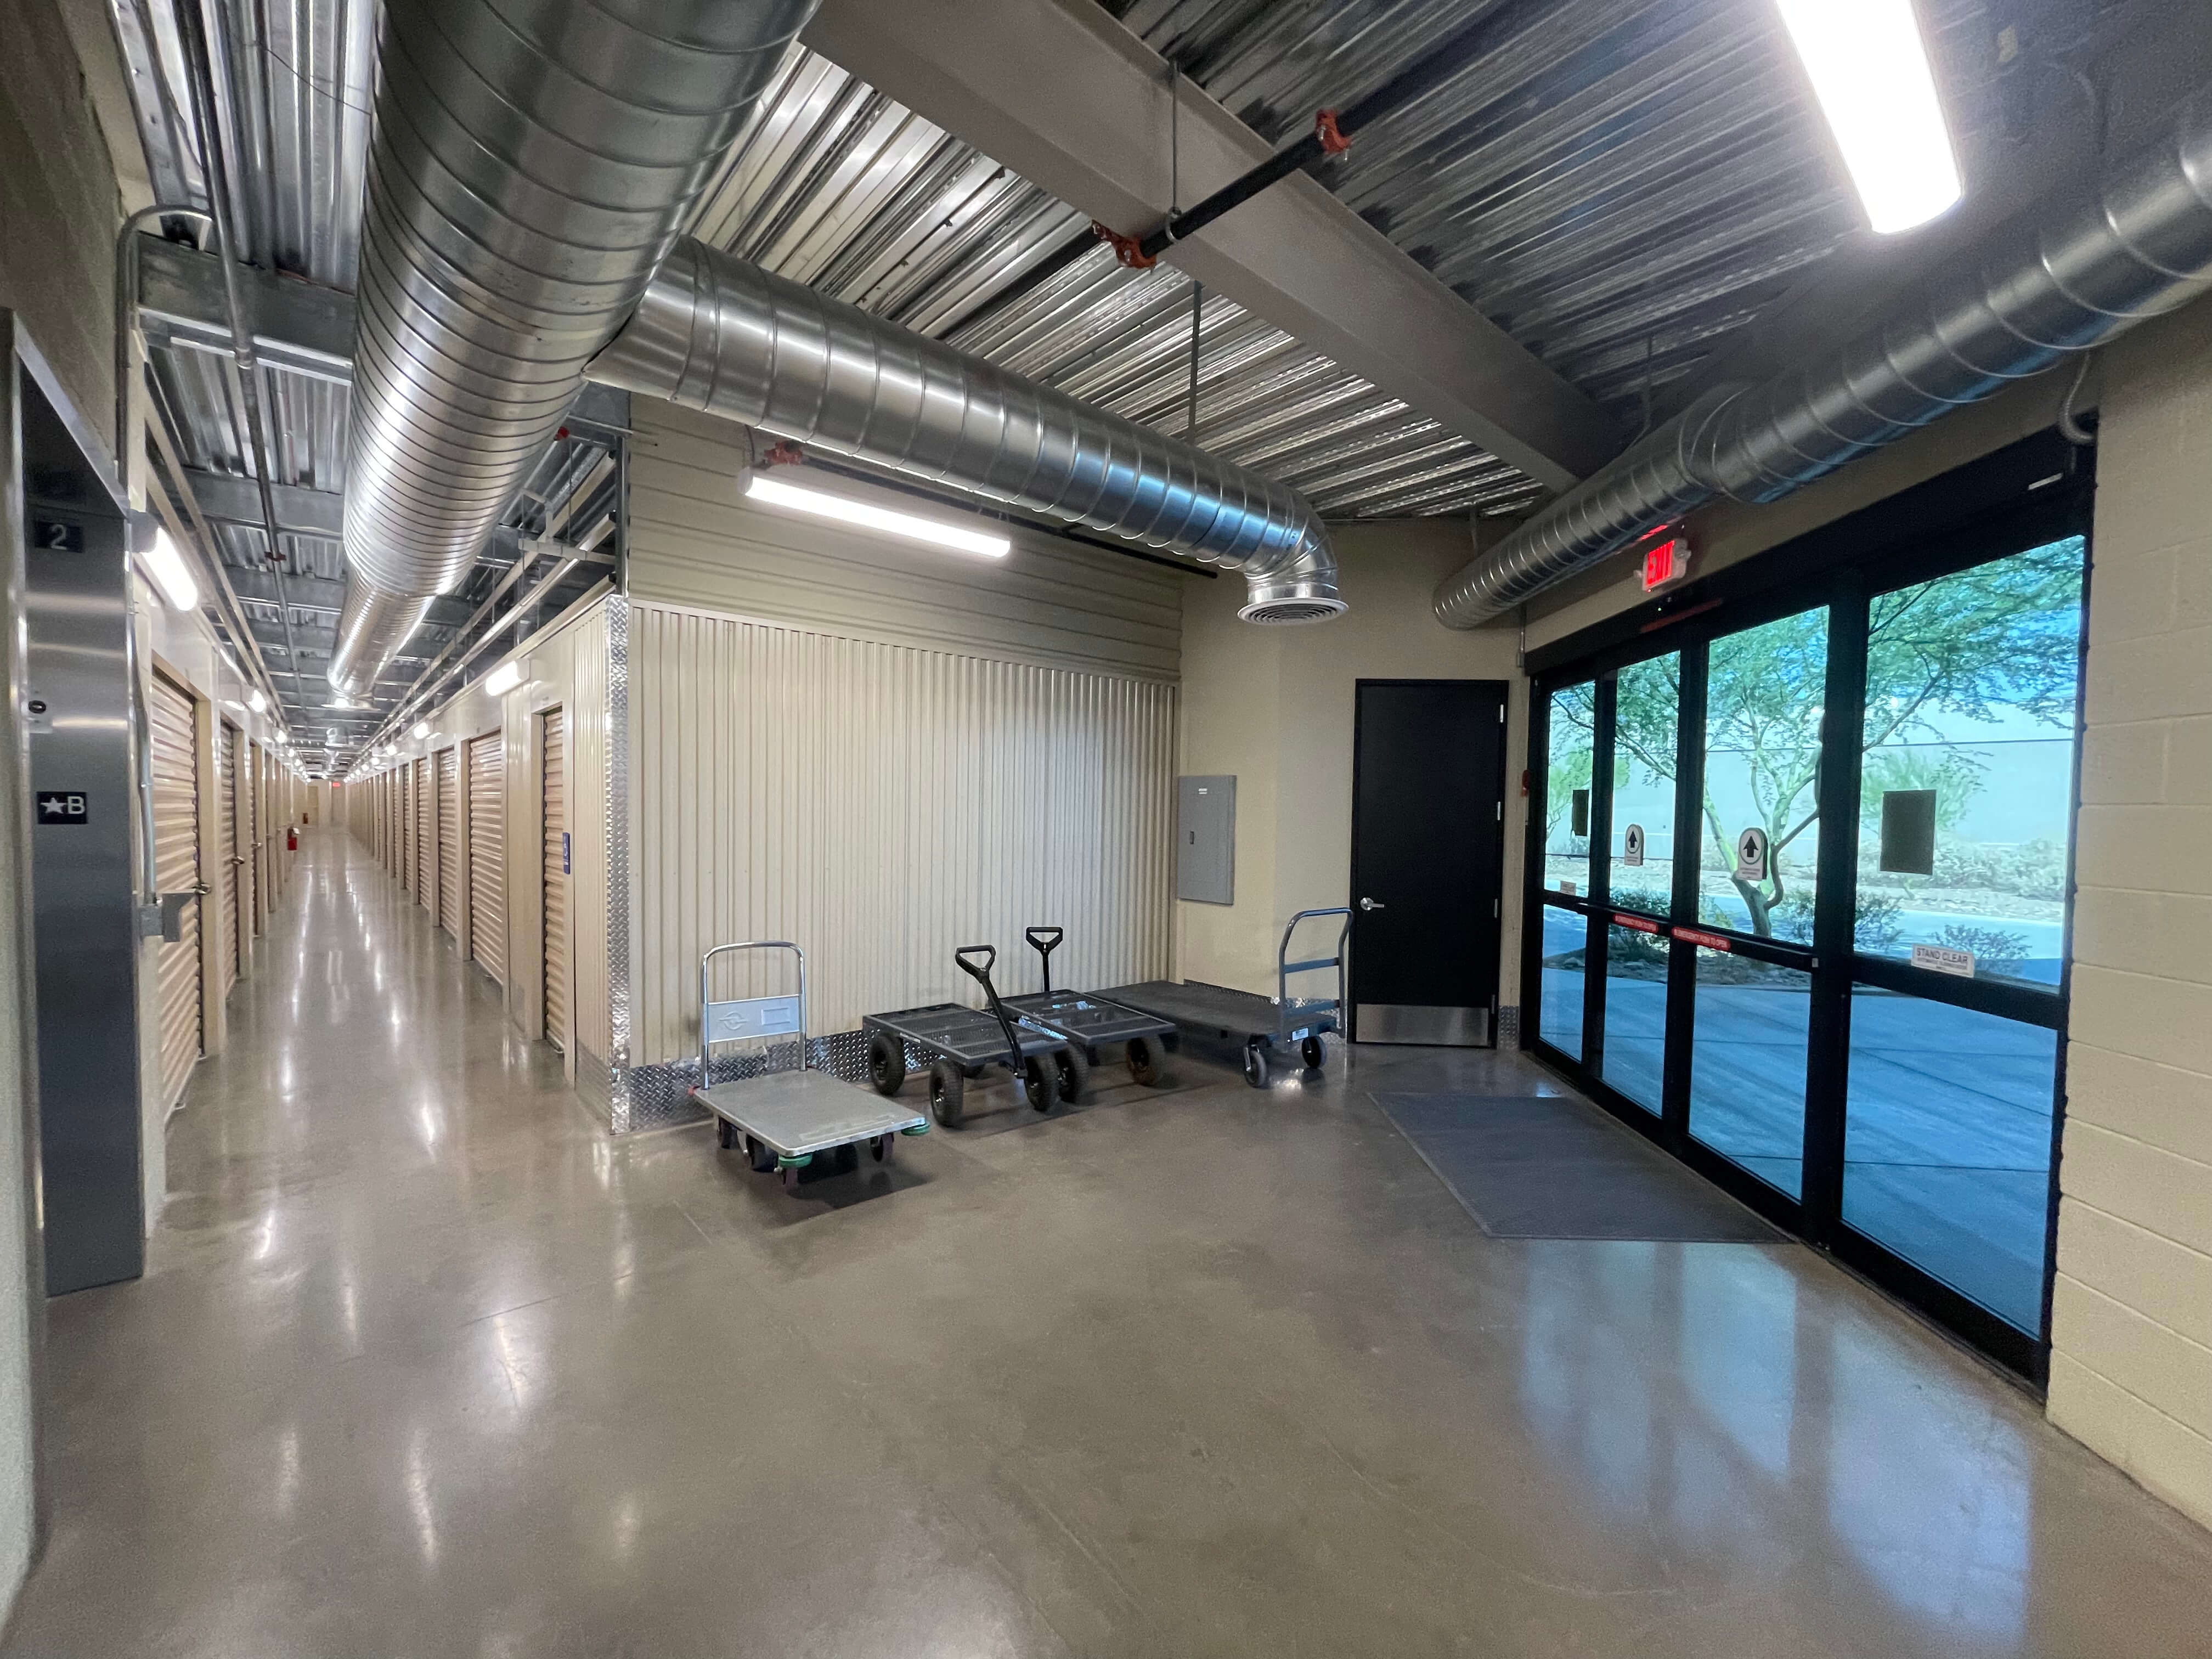
Keeping a storage room organized can feel like an endless challenge, especially when life fills every corner with items you need but don’t use daily. Whether you are managing a garage, basement, closet, pantry, home office, or a dedicated storage unit, having a functional system is key. At McDowell Mountain Community Storage, we understand the struggle of cluttered spaces and offer practical solutions for maximizing your storage space. Here’s a comprehensive guide to storage room organization with actionable ideas, expert tips, and simple DIY hacks to help you create a tidy, efficient, and accessible storage system.
Maximize Storage Room Space with Shelving and Containers
One of the most effective ways to organize a storage room is to arrange items to maximize vertical and horizontal space. Installing shelving units along walls, in corners, or even as freestanding pieces allows you to store something off the floor while keeping everything visible and within hand. Use a combination of bins, containers, and baskets to categorize your belongings, from clothes, kids’ items, and books to shoes, linens, and anything else in the house. This simple idea, combined with a few clever tricks, can transform a cluttered area into an organized, functional space.
Tips for shelving efficiency:
- Stack items strategically: Place heavier items at the bottom and lighter ones on top.
- Use clear containers: This allows you to see everything at a glance without opening boxes.
- Label bins and shelves: Always label containers to save time searching for a specific item.
- Adjustable shelving units: They give flexibility to accommodate different sizes of items as your storage needs change.
Categorize and Sort Items for Easy Access
A cluttered storage room often results from everything being thrown into one area. To fix this, categorize items by type, use, or season. There are several ways to compact your belongings and reduce clutter. For example, keep seasonal decorations, coats, or baby clothes in separate bins or shelves, and tackle some items one step at a time. Create sections in your basement, garage, or closet for toys, office supplies, kitchen tools, and furniture, using cabinet space when possible. Avoid letting a pile of items accumulate—this helps owners maintain the storage room of their dreams.
Effective categorization methods:
- By frequency of use: Store daily-use items at eye level and less-used goods on top shelves or corners.
- By type or room: Group clothes, linens, and shoes in one section and tools, files, and projects in another.
- By season: Keep winter clothes, holiday decorations, or summer gear in labeled containers or vacuum-sealed bags to save space.
Declutter Before Organizing
Before you organize shelves, bins, or containers, it’s crucial to focus on decluttering your home fast. Many people struggle to maintain order because they keep unnecessary items. A thorough declutter helps free space and makes the organization process smoother. In this blog post, we share tips that are just one of the many strategies used around the world to keep storage rooms tidy and efficient.
Decluttering tips:
- One room at a time: Tackle the garage, basement, or closet one section at a time to prevent feeling overwhelmed.
- Keep, donate, discard: Sort everything into these three categories.
- Be honest: If you haven’t used an item in the past year, likely, you don’t need it.
- Handle duplicates carefully: Many people store a bunch of similar items that could be downsized or combined.
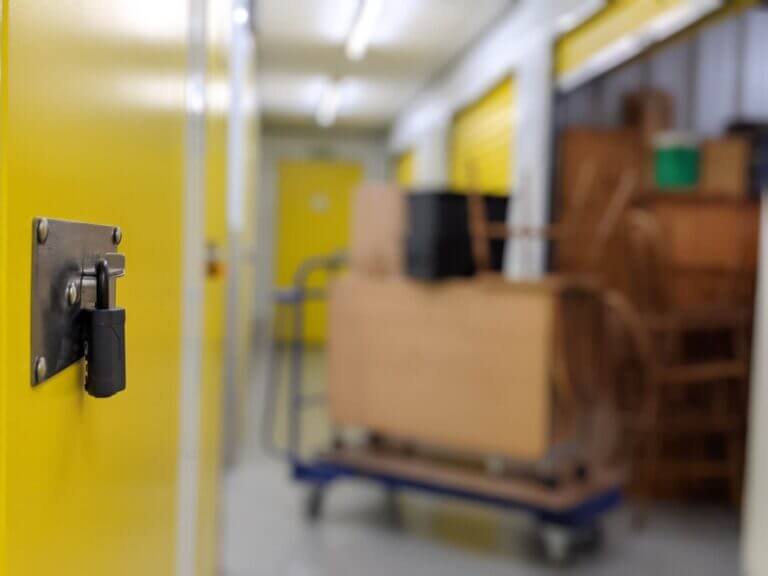
Use Storage Bins, Containers, and Baskets Wisely
Storage bins and containers are essential for keeping your storage room neat. They allow you to store a lot of items compactly while protecting them from dust, moisture, and damage. Baskets and open containers are perfect for items you want easy access to, like toys, office supplies, or kitchen accessories.
Bin organization strategies:
- Label everything: Label the bins with contents and location.
- Color code: Use different colored containers for categories like office supplies, toys, or seasonal clothes.
- Use uniform bins: Stackable, uniform containers maximize space and create a tidy appearance.
- Transparent options: Clear bins make it easy to see stuff without opening every container.
Utilize Wall and Door Spaces
When floor and shelf space are limited, walls and doors become valuable storage areas. Installing hooks, pegboards, or hanging racks allows you to store items efficiently while keeping them accessible. This method works particularly well for coats, tools, sports equipment, and bags.
Practical wall and door hacks:
- Hooks for coats and bags: Install near entryways or inside closet doors.
- Pegboards: Ideal for organizing tools, office supplies, and craft materials.
- Over-the-door racks Are Great for storing shoes, accessories, or cleaning supplies.
- Corner shelves: Maximize underused corners with vertical shelving.
Create a DIY Shelving System
Building your own shelving unit can be a fun DIY project that fits your space perfectly. You can customize dimensions, materials, and design to match your storage needs.
DIY shelving ideas:
- Wooden shelves with brackets: Affordable and sturdy for books, bins, and decor items.
- Crate shelving units: Stack crates for a versatile, modular system.
- Metal shelving racks: Ideal for garages, basements, or heavy storage.
- Floating shelves: Perfect for display items or lightweight goods.
Organize by Room for a Systematic Approach
Each room in your home has unique storage needs. A systematic approach ensures that every item has a dedicated spot, making your storage space functional and streamlined.
Room-specific strategies:
- Garage: Use a combination of shelving, hooks, and bins for tools, sports gear, and seasonal equipment.
- Basement: Focus on heavy storage bins, shelving units, and stackable containers for project materials, furniture, and bulk goods.
- Home office: Utilize cabinets, files, and storage containers to organize documents, office supplies, and electronics.
- Closets: Fold, hang, and categorize clothes, shoes, and accessories efficiently using containers and shelving.
- Kitchen or pantry: Store spices, dry goods, and kitchen supplies in labeled containers or baskets to keep everything tidy.
Implement an Efficient Labeling System
Organize and label stored boxes properly to maximize efficiency, as labels are one of the most essential tools for storage organization. They help everyone in the family know where things belong, making it easier to access items quickly.
Labeling tips:
- Use large, readable fonts, especially on bins stored on high shelves.
- Label all sides: Useful for stacked containers.
- Include contents and date: Helps with seasonal or project-based items.
- Color-coded labels: Quickly distinguish between types of items.
Maximize Closet and Storage Unit Efficiency
Closets and storage units are often underutilized. You can make the most of these spaces by using shelving, bins, hooks, and hanging organizers. This allows you to store a lot without clutter and keeps your items accessible.
Tips for closets and storage units:
- Double hanging rods: Hang more clothes in limited vertical space.
- Shelf dividers: Keep linens, blankets, or clothes organized.
- Vacuum-sealed bags Are Used to store seasonal clothes or bulky items.
- Rolling bins: For easy access to toys or supplies.
Efficiently Store Seasonal Items and Projects
Seasonal items, baby supplies, or long-term projects often take up valuable space. Proper organization ensures they are protected and accessible when needed.
Strategies for seasonal storage:
- Top shelves: Store holiday decorations or winter gear on higher shelves.
- Dedicated containers: Use labeled bins for each season.
- Project bins: Keep materials for DIY projects or crafts in a single container.
- Rotation system: Rotate items based on seasonal use, keeping frequently used goods within easy reach.
Use Hooks, Racks, and Side Storage for Small Spaces
Small storage rooms benefit from creative solutions like hooks, racks, or side wall storage. This is especially useful for tools, kitchen utensils, or baby supplies.
Creative small-space solutions:
- Magnetic strips: Store metal tools or kitchen knives safely.
- Hanging baskets: Perfect for toys, linens, or office supplies.
- Wall-mounted racks: Keep coats, shoes, or bags off the floor.
- Corner shelves: Utilize often-forgotten spaces efficiently.
Optimize Storage Room Layout for Accessibility
The layout of your storage room can make a huge difference. A well-thought-out plan ensures easy access, safety, and efficient use of space.
Layout strategies:
- Pathways: Keep aisles clear for easy access.
- Zones: Create zones for clothes, tools, kids’ toys, or office supplies.
- Frequently used items at eye level: Avoid bending or reaching for items used daily.
- Heaviest items on the bottom: Prevent accidents and maximize safety.
Maintain Organization Over Time
Organization is not a one-time project. Maintaining order ensures your storage room stays tidy and functional.
Maintenance tips:
- Monthly check-ins: Review bins and shelves to remove clutter.
- Seasonal rotation: Switch out seasonal items for easy access.
- Family involvement: Encourage everyone to return items to their spot.
- Quick cleanups: Use containers, baskets, and labels to keep everything organized.
Add Style and Inspiration to Storage
A well-organized storage room can also be stylish. By incorporating decorative bins, shelving units, and baskets, you can turn a purely functional space into an inspiring area.
Styling tips:
- Uniform containers: Give a cohesive look.
- Matching labels: Adds a neat, professional touch.
- Decorative baskets: Store linens, toys, or accessories stylishly.
- Incorporate color and design: Make the space enjoyable to use.
Final Thoughts on Storage Room Organization
Organizing a storage room doesn’t have to be overwhelming. By using the proper shelving, bins, containers, hooks, and labels, you can maximize space, streamline access, and keep everything neat. Whether it’s your basement, garage, closet, home office, or storage unit at McDowell Mountain Community Storage, the strategies outlined here provide a comprehensive roadmap to a more organized life. DIY projects, seasonal rotations, and clever use of wall and door space ensure your storage system is functional, efficient, and adaptable.
With the right tips, ideas, and hacks, every item, from books and toys to clothes and project supplies, can have a dedicated spot. A well-organized storage room not only reduces clutter but also makes your home more enjoyable and stress-free. By implementing these strategies, you’ll create a storage system that works for your family, lifestyle, and future projects, turning chaotic storage rooms into dream spaces that maximize utility and minimize clutter.
Frequently Asked Questions (FAQs) About Storage Room Organization
1. What is the best flooring for a storage room to prevent moisture damage?
Use moisture-resistant flooring like vinyl, sealed concrete, or laminate with water-resistant backing. Adding a rug or mat in areas prone to spills or leaks can also help protect items, especially if storing clothes, linens, or paper-based goods.
2. How can I organize fragile or valuable items safely in a storage room?
Store fragile items in padded boxes or containers lined with bubble wrap, foam, or old linens. Label these containers clearly and place them on the middle or top shelves to prevent crushing. Avoid stacking heavy items on top of fragile ones.
3. What lighting solutions work best for storage rooms or closets?
LED strip lights, motion-sensor lights, or bright overhead fixtures work well. Motion-sensor lights are handy for closets or garages where you need instant visibility without fumbling for switches.
4. How can I make a small storage room feel less cramped and more accessible?
Use vertical storage, such as tall shelving units and wall-mounted hooks, to free up floor space. Clear bins and uniform containers create a visually tidy space. Also, keep pathways clear and designate zones for specific types of items.
5. Are there eco-friendly storage containers or materials I can use?
Yes! Look for containers made from recycled plastic, bamboo baskets, or wooden crates. Reusable fabric bins and cardboard boxes from sustainable sources are also good options, especially for seasonal or lightweight items.
6. How often should I review and reorganize my storage system?
A good rule of thumb is every 3–6 months. Seasonal rotations, new purchases, or completed projects are good opportunities to reassess your bins, shelves, and labels to maintain order and efficiency.
7. What’s the best way to store electronic equipment or cables to avoid tangling or damage?
Use cable ties, Velcro straps, or small labeled containers for cords. Store electronics in protective cases or padded bins. Keep heavier devices on low shelves to prevent falls, and avoid stacking them under heavy items.
8. How can I create a kid-friendly storage area in a shared space?
Use open bins, low shelves, and labeled baskets for toys, books, and art supplies. Bright colors, clear labels, and accessible hooks help kids learn to put items back, making cleanup easier and encouraging independence.
9. Can I use furniture or multi-purpose pieces to add storage in small rooms?
Absolutely! Storage ottomans, benches with compartments, or beds with under-storage drawers are excellent ways to maximize space while keeping items hidden and accessible. Cabinets with adjustable shelves are also versatile.
10. What security measures should I consider for valuable items in a storage unit?
Use a lock approved by the storage facility, and consider insurance for high-value items. Keep fragile or sensitive items in opaque containers to prevent them from being easily seen, and avoid storing cash or extremely valuable electronics without extra precautions.